NormalMapGenerator window
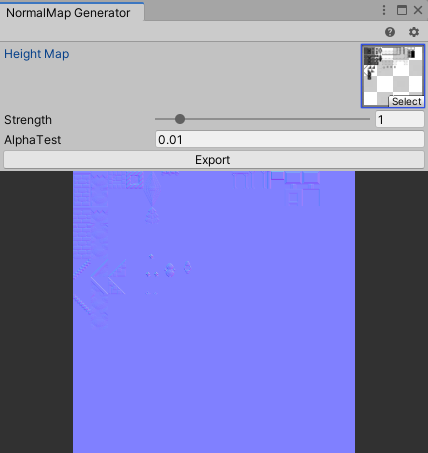
Window for generating normal map textures considering auto tile concatenation
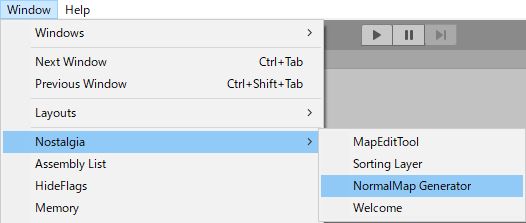
Open NormalMapGenerator window
- Select “Window > Nostalgia > NormalMap Generator” from the menu.
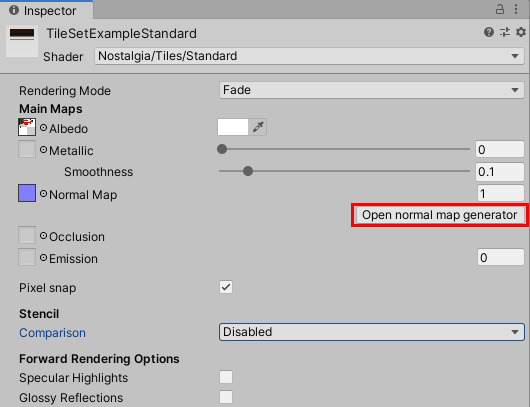
- You can also open it from the “Open normal map generator” button on materials such as Tiles / Standard shaders.
How to use
- Select the TileSet for which you want to set the normal map from the Project window.
- Specify the height map of the tile in Height Map.
About Height Map- Grayscale each pixel and calculate as the whiter it is, the more protruding it is.
- Set the strength of the slope to Strength.
- Set the value of the alpha test in Alpha Test.
- Click the Export button.
- If the texture set in the material's Bump Map is png, it will be overwritten.
- If BumpMap is not set or it is not png, a “TileSet name + NormalMap.png” file will be generated in the same folder as TileSet.
If the same file name already exists, change it to a unique name and generate it.
Since the material settings are not changed here, you also need to set the material after it is generated.